What are enhanced conversions?
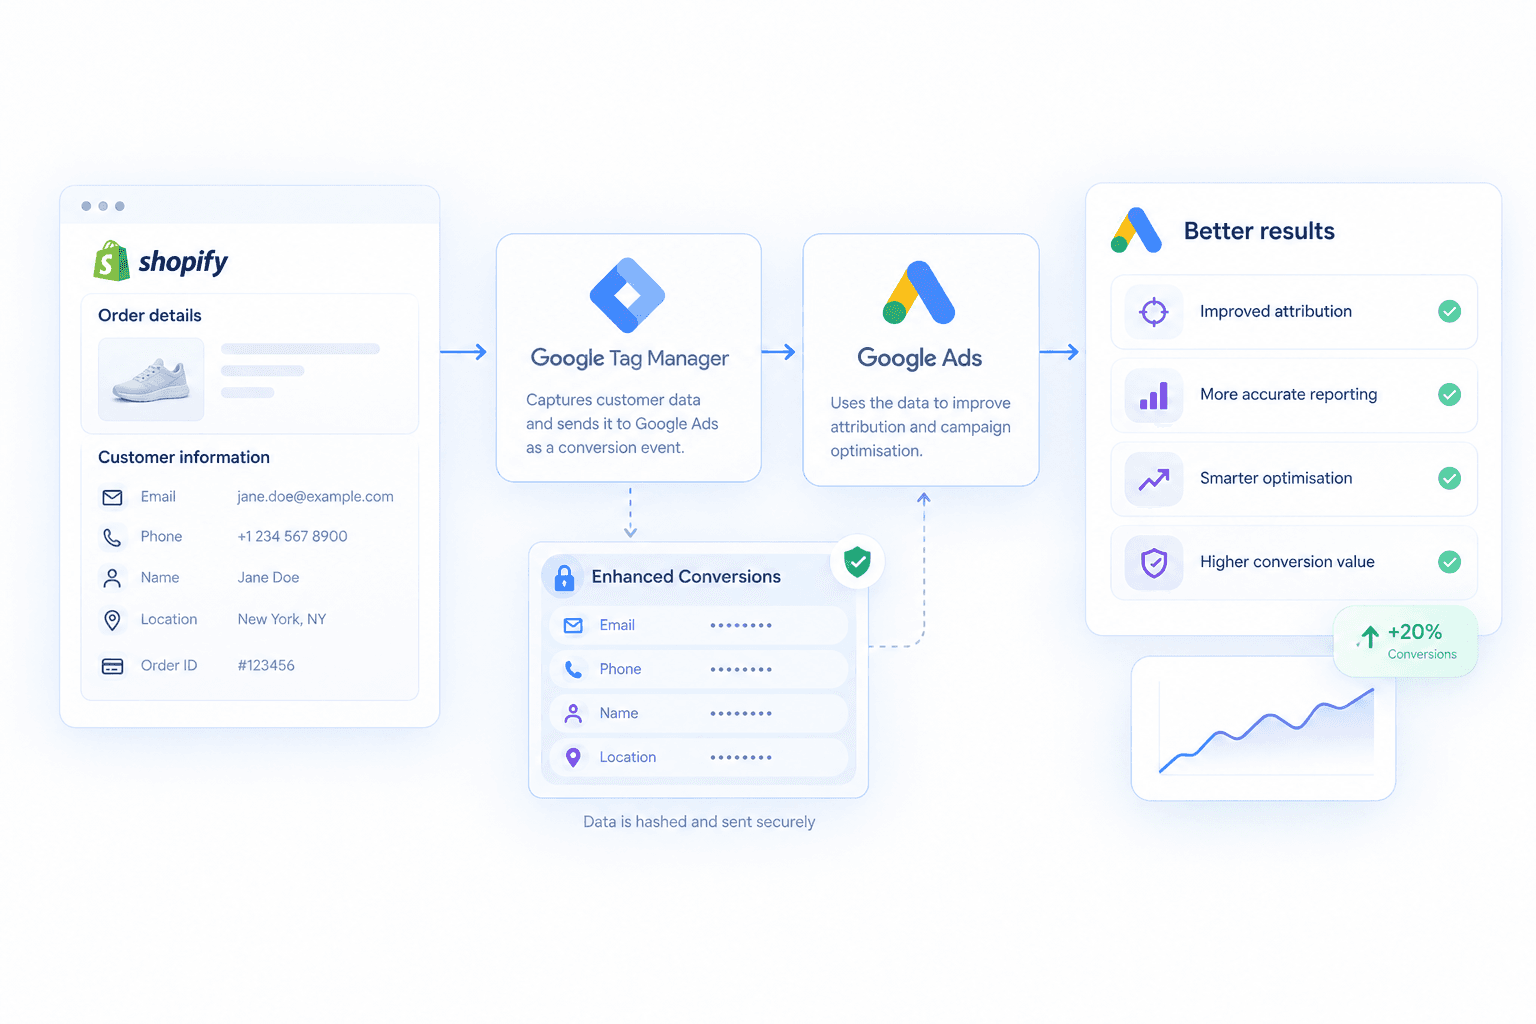
Enhanced conversions are a Google Ads feature that adds first-party customer data to a conversion. When someone buys or submits a form, your tag collects the email address (and optionally phone, name and address), normalises it, hashes it with SHA-256 and sends the hash along with the conversion.
Google then compares that hash with the hashed details of people signed in to Google accounts. If it finds a match to someone who clicked or viewed your ad, the conversion is attributed to that ad, even when the click cookie is gone.
That matters because cookie-based tracking keeps losing ground. Safari caps cookie lifetimes, people switch from phone to laptop before buying, and ad blockers strip the GCLID. In the accounts I set up, enhanced conversions usually recover somewhere between a few per cent and over 10% more measured conversions. That is not new sales. It is sales you already made that Google Ads could not see, and that Smart Bidding can now learn from.
On the ComfyBedss project, enhanced conversions were one part of the fix, alongside server-side GTM and Consent Mode v2, that took tracked Shopify orders from about 60% to 95%.
Enhanced conversions for web vs for leads vs offline conversion import
Google uses similar words for three different things. Picking the wrong one is the most common reason a setup does nothing useful.
| Enhanced conversions for web | Enhanced conversions for leads | Offline conversion import (GCLID) | |
|---|---|---|---|
| Best for | Ecommerce purchases and online sign-ups | Lead gen where the sale happens later in a CRM | Lead gen with reliable GCLID capture |
| What it sends | Hashed email/phone with the online conversion tag | Hashed email/phone on form submit, then the sale uploaded later by email/phone | GCLID (or wbraid/gbraid) plus conversion time and value |
| Needs a click ID? | No | No | Yes |
| Where the conversion happens | On the website | In your CRM or sales process | In your CRM or sales process |
| Upload window | Real time | Up to 63 days after the click | Up to 90 days after the click |
| Main benefit | Recovers online conversions cookies missed | Bids on qualified leads and sales without GCLID | Bids on revenue, not form fills |
They are not mutually exclusive. A typical lead-gen setup I build uses enhanced conversions for the form fill, then sends closed deals back with either enhanced conversions for leads or GCLID import. I explain the trade-offs in offline conversions vs enhanced conversions, and the leads version in detail in enhanced conversions for leads. The full offline side is covered on my offline conversion tracking guide.
How enhanced conversions work
The flow is the same whichever setup method you use.
A few details worth knowing:
- Hashing happens before sending. The Google tag hashes automatically if you pass plain values. If you hash yourself, you must normalise first: lowercase, trim spaces, and for Gmail addresses remove dots before the @.
- Phone numbers must be E.164. That means +44 7700 900123 becomes +447700900123 before hashing. A local format produces a different hash and never matches.
- It enriches, it does not duplicate. The data rides on the existing conversion. No second conversion is counted.
- Matching is not instant. Recovered conversions appear gradually over a few days as Google processes them.
How to set up enhanced conversions
Before any method, turn the feature on in Google Ads: Goals › Settings › Enhanced conversions, tick the box, accept the customer data terms, and choose how you will send data (Google tag, GTM or API). Then pick one of the methods below. Do not mix them on the same conversion action.
Method 1: Google Tag Manager with a user-provided data variable
This is my default. It gives you the most control and is easy to debug.
- Make sure the email (and phone if you have it) is available on the conversion. Best is a dataLayer push on the thank you page or form submit, for example
user_data.email. - In GTM, create a User-Provided Data variable. Choose Manual configuration and map email, phone, first name, last name, street, city, postcode and country to Data Layer Variables. Avoid automatic detection on production sites; it scrapes the page and is unreliable.
- Open your Google Ads Conversion Tracking tag, tick Include user-provided data from your website, and select the variable.
- Make sure a Google tag (or Conversion Linker) loads on all pages so the click ID is still captured.
- Preview, submit a test conversion, and check in Tag Assistant that the conversion hit contains the
emparameter with a hashed value.
The full click-by-click walk-through is in my enhanced conversions setup guide, and the base conversion tag in Google Ads conversion tracking with GTM.
Method 2: gtag.js (Google tag) directly
Use this when the site has no GTM and a developer can add code.
- Add
allow_enhanced_conversions: trueto the Google Ads config, or enable it in the Google tag settings. - Before the conversion event fires, call
gtag('set', 'user_data', { email: ..., phone_number: ... })with the customer's values. - Fire the conversion event as usual with
send_to, value, currency andtransaction_id.
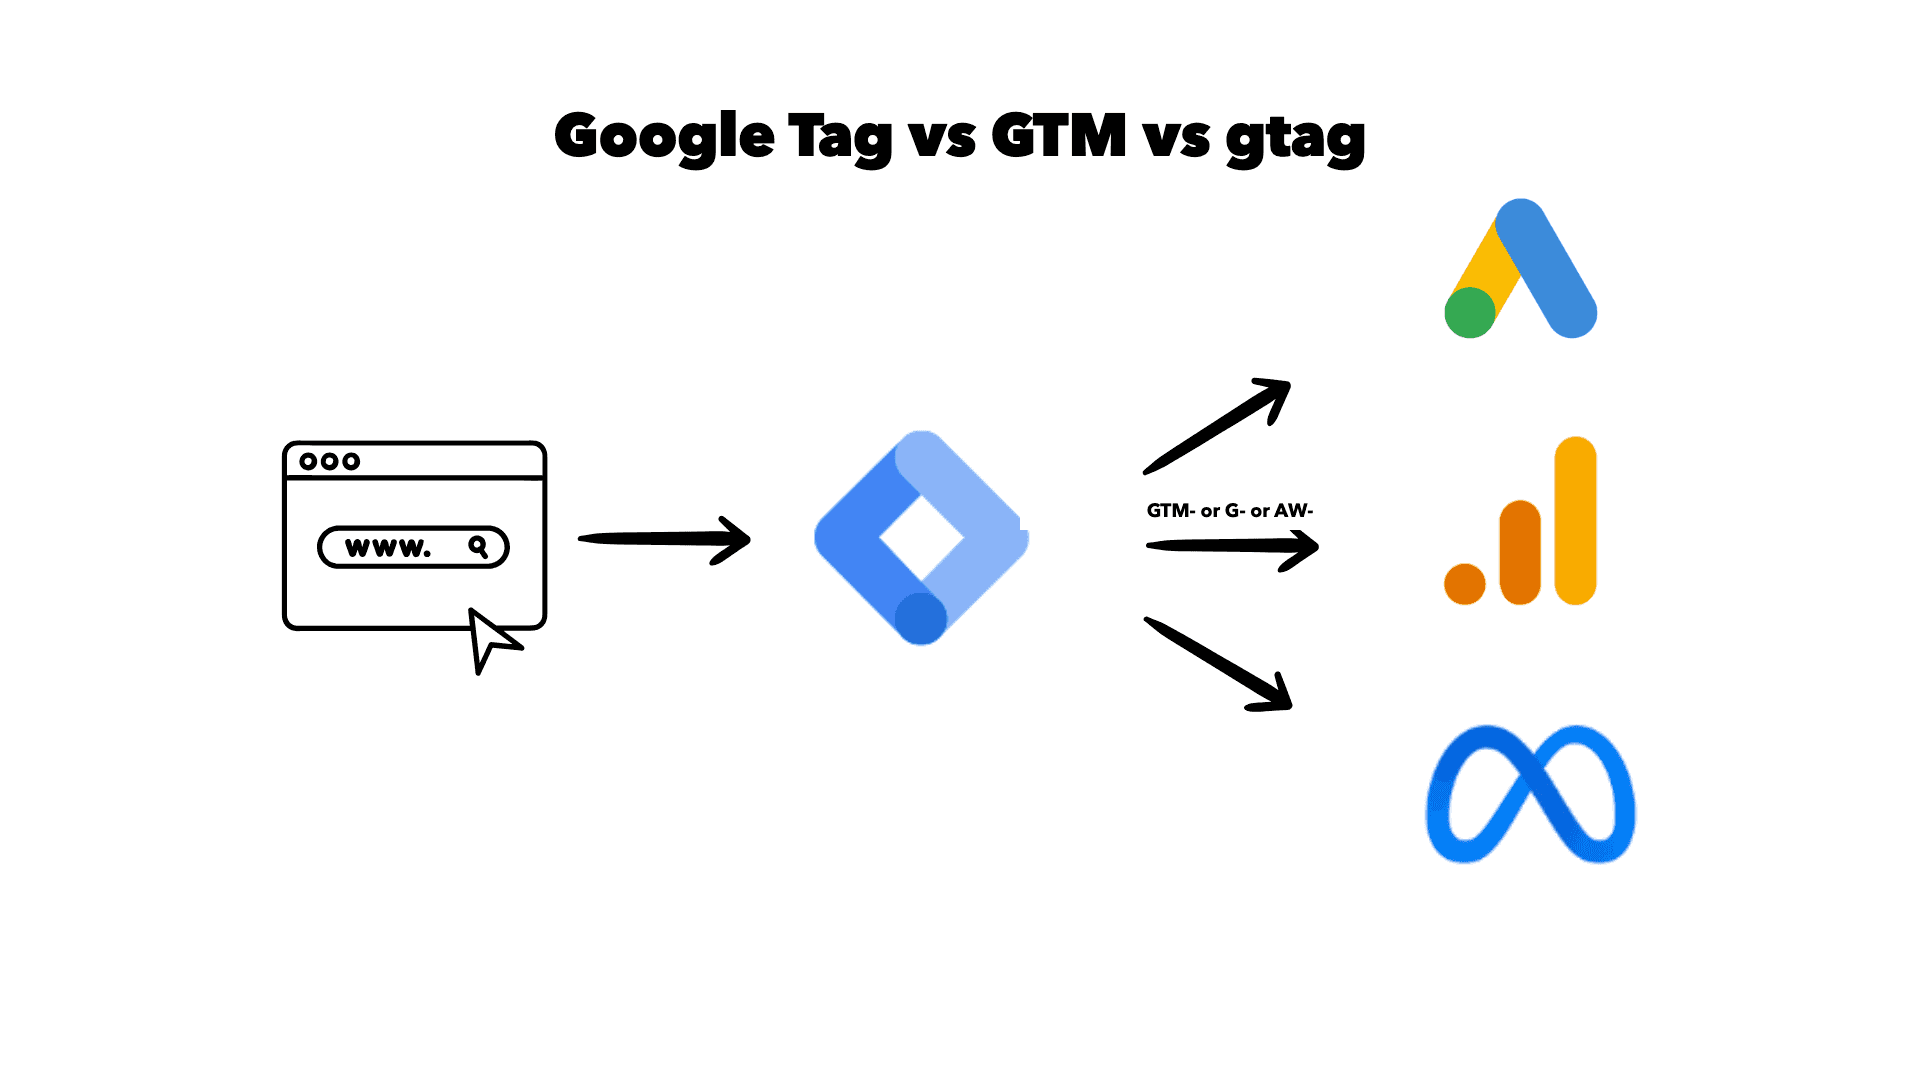
If you are unsure which of gtag, the Google tag and GTM you actually have, read Google tag vs GTM vs gtag first. Running two of them is a classic cause of double counting.
Method 3: Google Ads API or server-side GTM
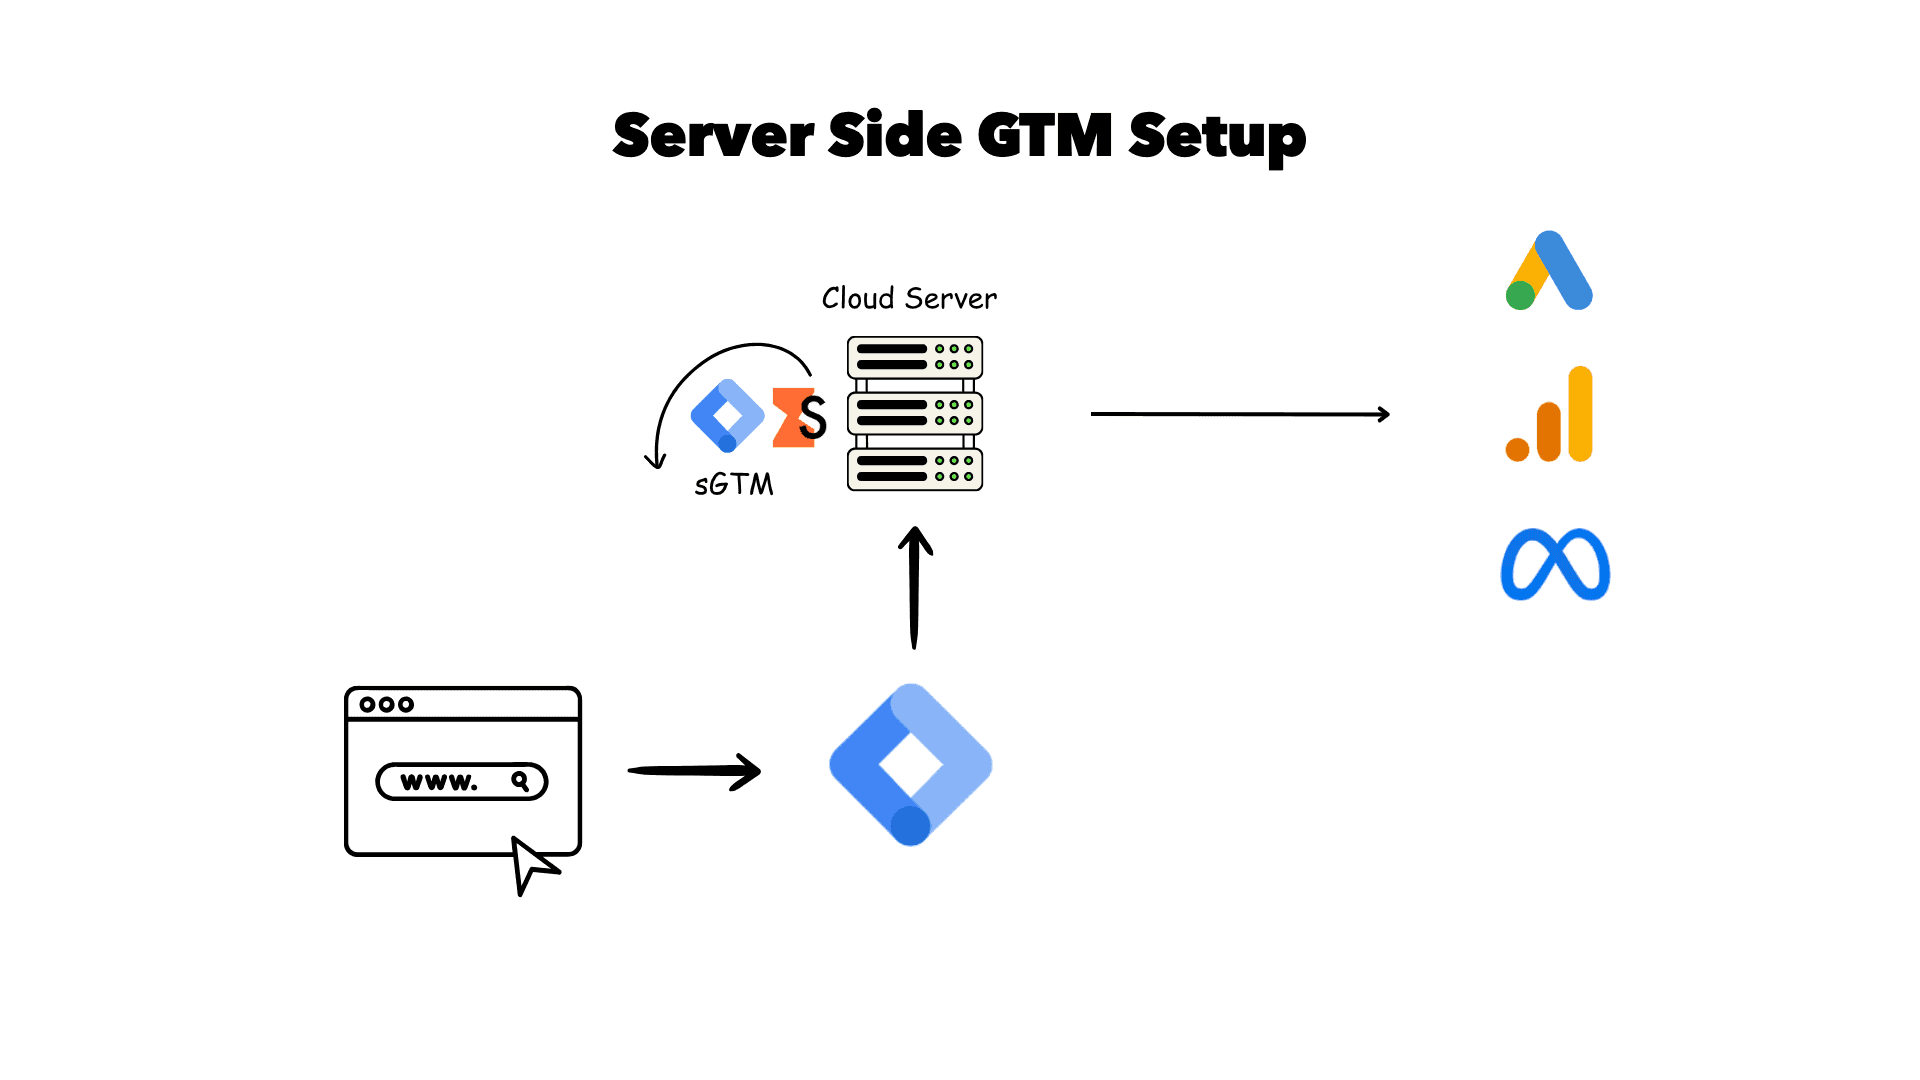
For larger accounts, or when you already run server-side tracking on Stape or Cloud Run, you can send user data from the server.
- Send the email and phone from the web container to your server container in the GA4 or data client event, over your own subdomain.
- In the server container, the Google Ads Conversion Tracking tag picks up user data from the event. Hash it there if your policy is to never send plain values from the server.
- For enhanced conversions for leads or adjustments, use the Google Ads API (ConversionUploadService with
user_identifiers) or the Data Manager API to upload conversions keyed on hashed email or phone.
Server-side does not change how matching works. What it changes is how many conversions reach Google at all, which is often the bigger win.
Method 4: Shopify with the Google & YouTube app
- Install the Google & YouTube app and connect the Google Ads account.
- In Google Ads, open the purchase conversion created by the app and turn on enhanced conversions for it.
- Check that you are not also firing a GTM or custom pixel purchase conversion to the same action.
It works, but you get little control over fields, consent and deduplication. For stores spending seriously on Google, I usually move this to a custom pixel plus GTM or server-side GTM. More in Google Ads conversion tracking on Shopify.
Consent Mode v2 requirements
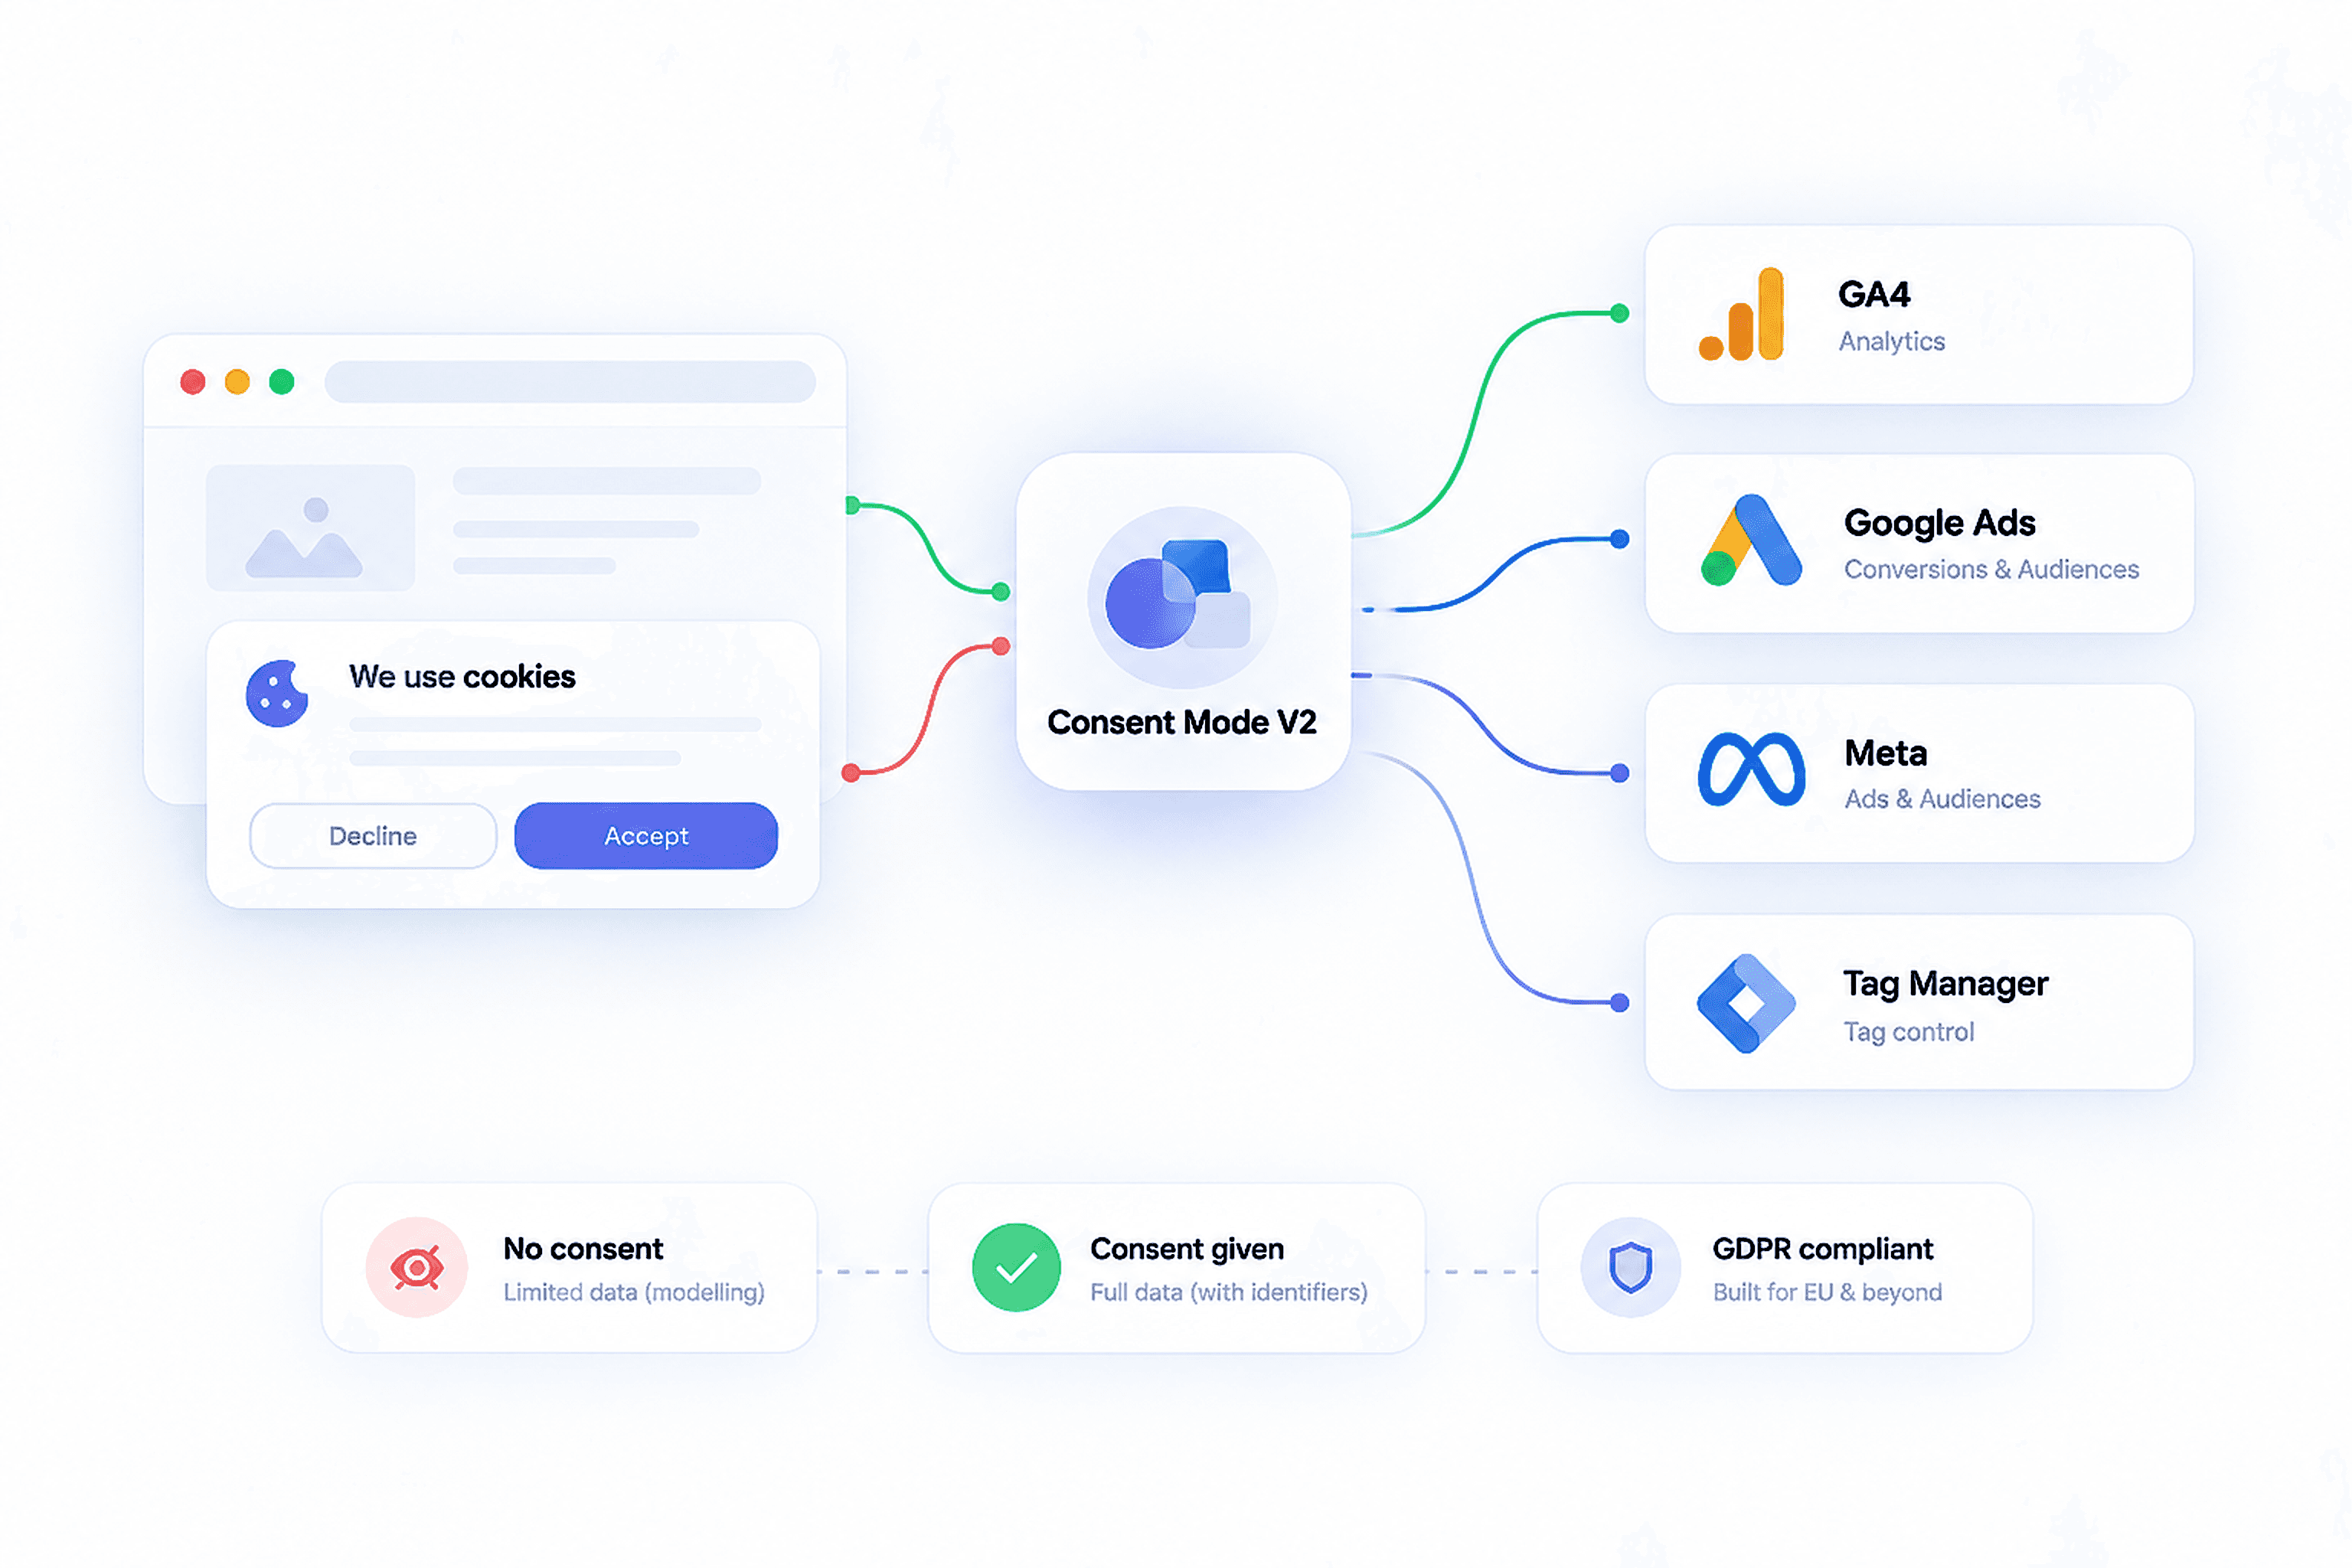
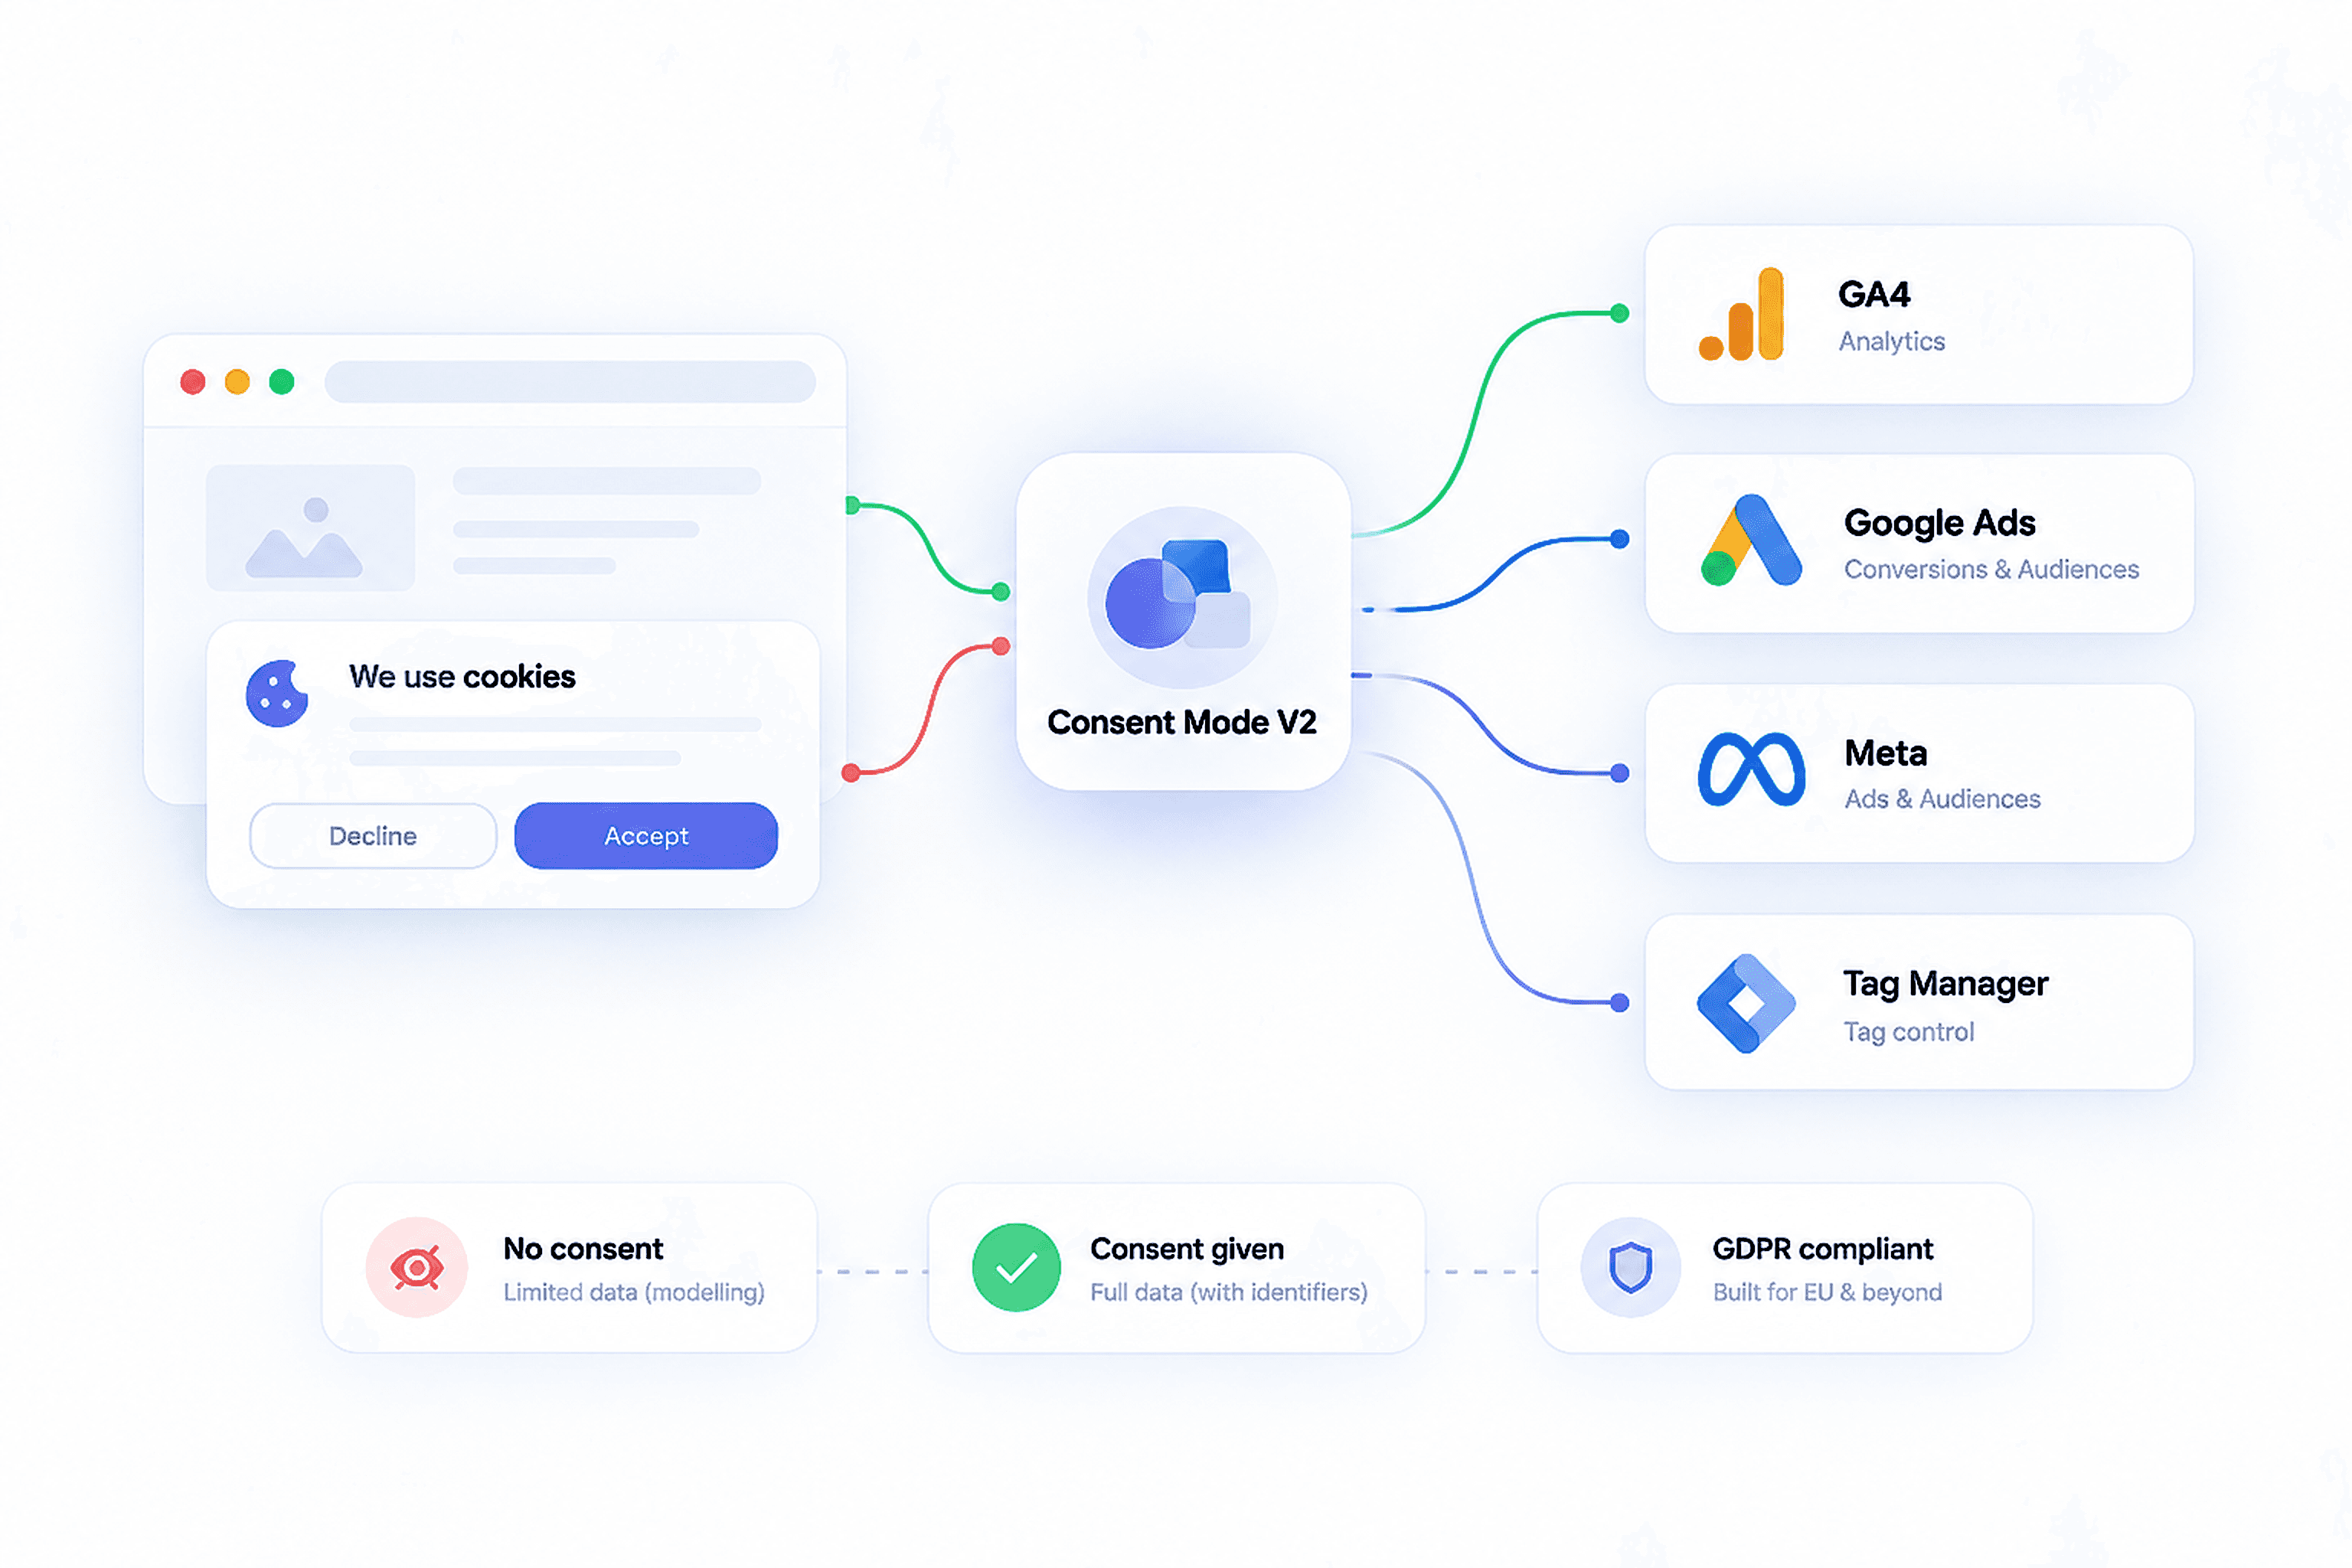
In the EEA, UK and Switzerland, Google requires Consent Mode v2 for any personalised advertising measurement. For enhanced conversions the key signal is ad_user_data.
- If
ad_user_datais granted, the hashed user data is sent with the conversion. - If it is denied, the hashed data is not sent. With advanced consent mode, Google still receives a cookieless ping and models the conversion.
ad_personalizationcontrols remarketing, not conversion measurement, but your banner should set all four signals (ad_storage,analytics_storage,ad_user_data,ad_personalization).- The default state must be set before any Google tag fires, and the update must happen on the same page when the visitor clicks accept.
I have seen banners that update ad_storage but never ad_user_data, which silently disables enhanced conversions for every European visitor. Setup steps are in my Consent Mode v2 GTM guide, and the reporting effect in Consent Mode v2 and lost conversions.
How to verify enhanced conversions in Google Ads
Switching the feature on is not the same as it working. I check three places.
- Tag Assistant. Run a real test conversion. In the Google Ads conversion hit, look for the
em(andpnfor phone) parameter with a long hashed value. Empty means the variable is not finding the data. - Diagnostics in Google Ads. Go to Goals › Conversions › Summary, open the conversion action, then the Diagnostics tab. After 48 to 72 hours you should see the enhanced conversions status as active, the share of conversions with user data, and any warnings about formatting.
- Coverage. Aim for most conversions to include user-provided data. If coverage is low, the email is missing on some paths, such as express checkouts, upsell pages or a second form.
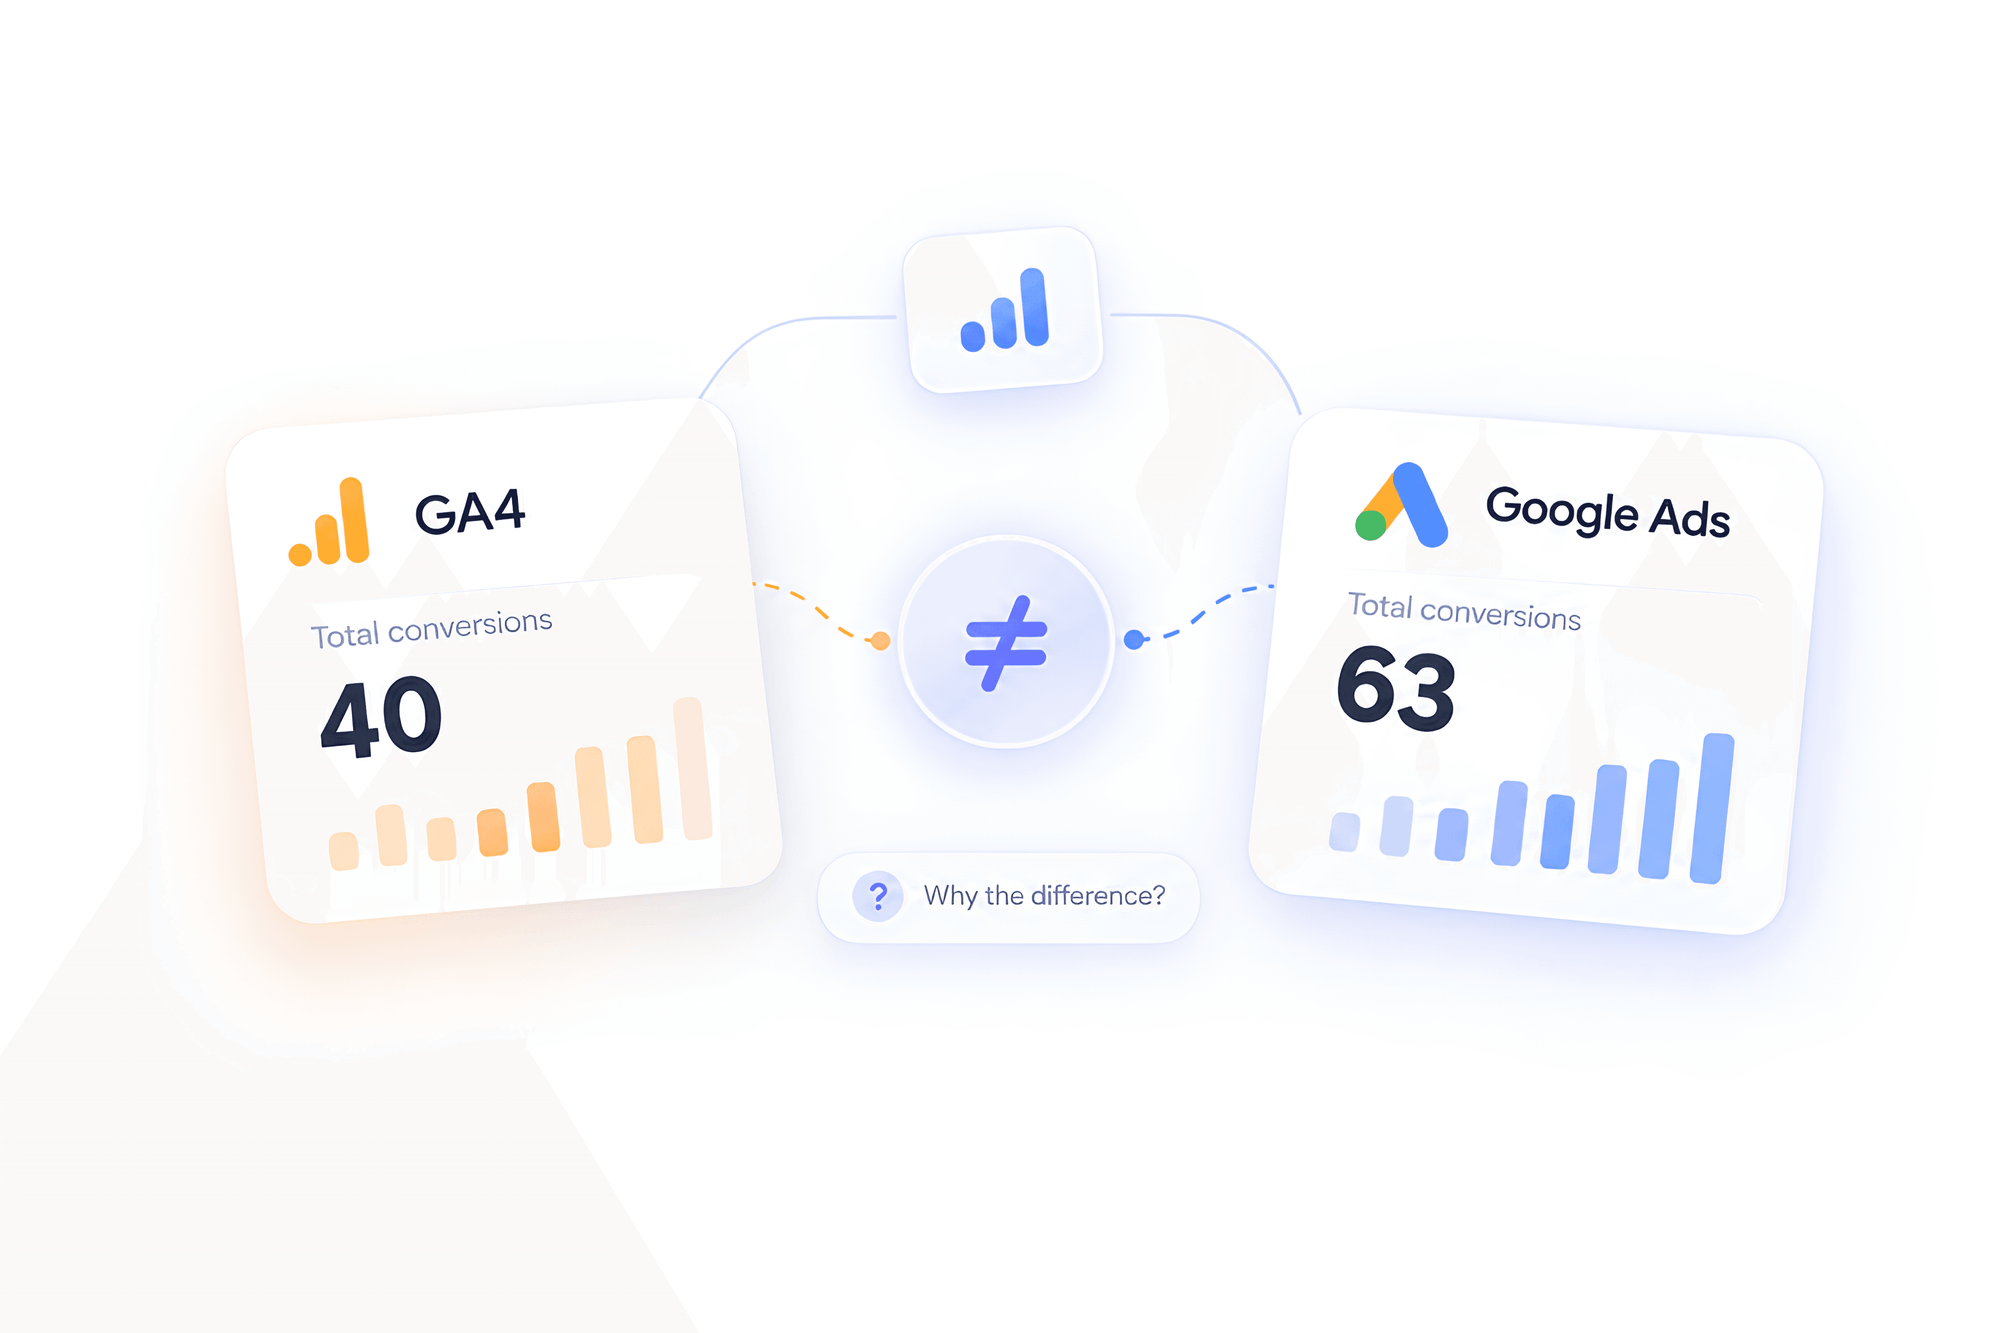
Then compare the recovered conversions column over the next few weeks. If the numbers between Google Ads and GA4 still look off, my guide on why GA4 and Google Ads conversions do not match covers the usual causes.
Common enhanced conversions mistakes
Not normalising the email or phone
If you hash yourself, " John@Example.com " and "john@example.com" produce different hashes. Only the second can match. Phone numbers without the country code fail the same way. Either pass plain values and let the Google tag hash them, or normalise carefully first.
Missing fields on the conversion page
The most common failure I find. The thank you page simply does not have the email on it, so the variable returns undefined. The fix is to push the email to the dataLayer at form submit or checkout, or read it from the order object, not to scrape the page.
Partial address data
Sending a first name without last name, postcode and country adds nothing. Address matching needs the full set. Send email and phone, and only add the address block if you have every field.
Enabling it on the wrong conversion action
User data gets attached to a secondary action, or to a GA4-imported conversion, while the primary purchase tag that Smart Bidding uses gets nothing. Check that the action you bid on is the one showing user data in diagnostics.
Consent blocking the data
A banner that never updates ad_user_data, or a tag sequenced to fire before consent loads, quietly removes the data for a large share of traffic. Test with the banner accepted and declined.
Two methods on one action
Mixing the Shopify app with GTM, or gtag with GTM, sends conflicting signals and often double counts. One method per conversion action, always with a transaction ID.
How I set up enhanced conversions for you
I set up enhanced conversions as part of a Google Ads conversion tracking setup, from €450, or as a fix on an existing setup. Most jobs take around 3 hours. I have done this on 250+ accounts, including white-label work for agencies.
- Audit. I check your current conversion actions, tags, consent banner and which data is available at each conversion.
- Choose the method. GTM, gtag, server-side GTM or Shopify, and whether you also need enhanced conversions for leads or offline import.
- Build. Data layer pushes, user-provided data variable, conversion tags, transaction IDs and Consent Mode v2 signals.
- Test. Real test conversions, hashed values confirmed in Tag Assistant, accepted and declined consent both checked.
- Verify and hand over. I confirm diagnostics after 72 hours and send a short report of what changed.
What I need from you: access to Google Tag Manager, Google Ads (standard access), GA4, your website or store admin, and your consent banner tool.
Timeline: usually done within 1 to 2 working days, plus a diagnostics check 2 to 3 days later.
Other guides: server-side tracking, offline conversion tracking, Meta Conversions API, and the Outdoortid case study. Or just get in touch.

 Whop to
 Cluely
 Abdul was our go-to